Toilet Replacement Done Right - Shut-Off Move and Fresh Install
Sometimes a toilet replacement isn't as simple as pull the old one, drop in the new one. That's what a lot of homeowners assume - and then they run into a problem. The existing shut-off valve is in the wrong spot, the new toilet won't sit right, and suddenly a straightforward swap turns into a headache.
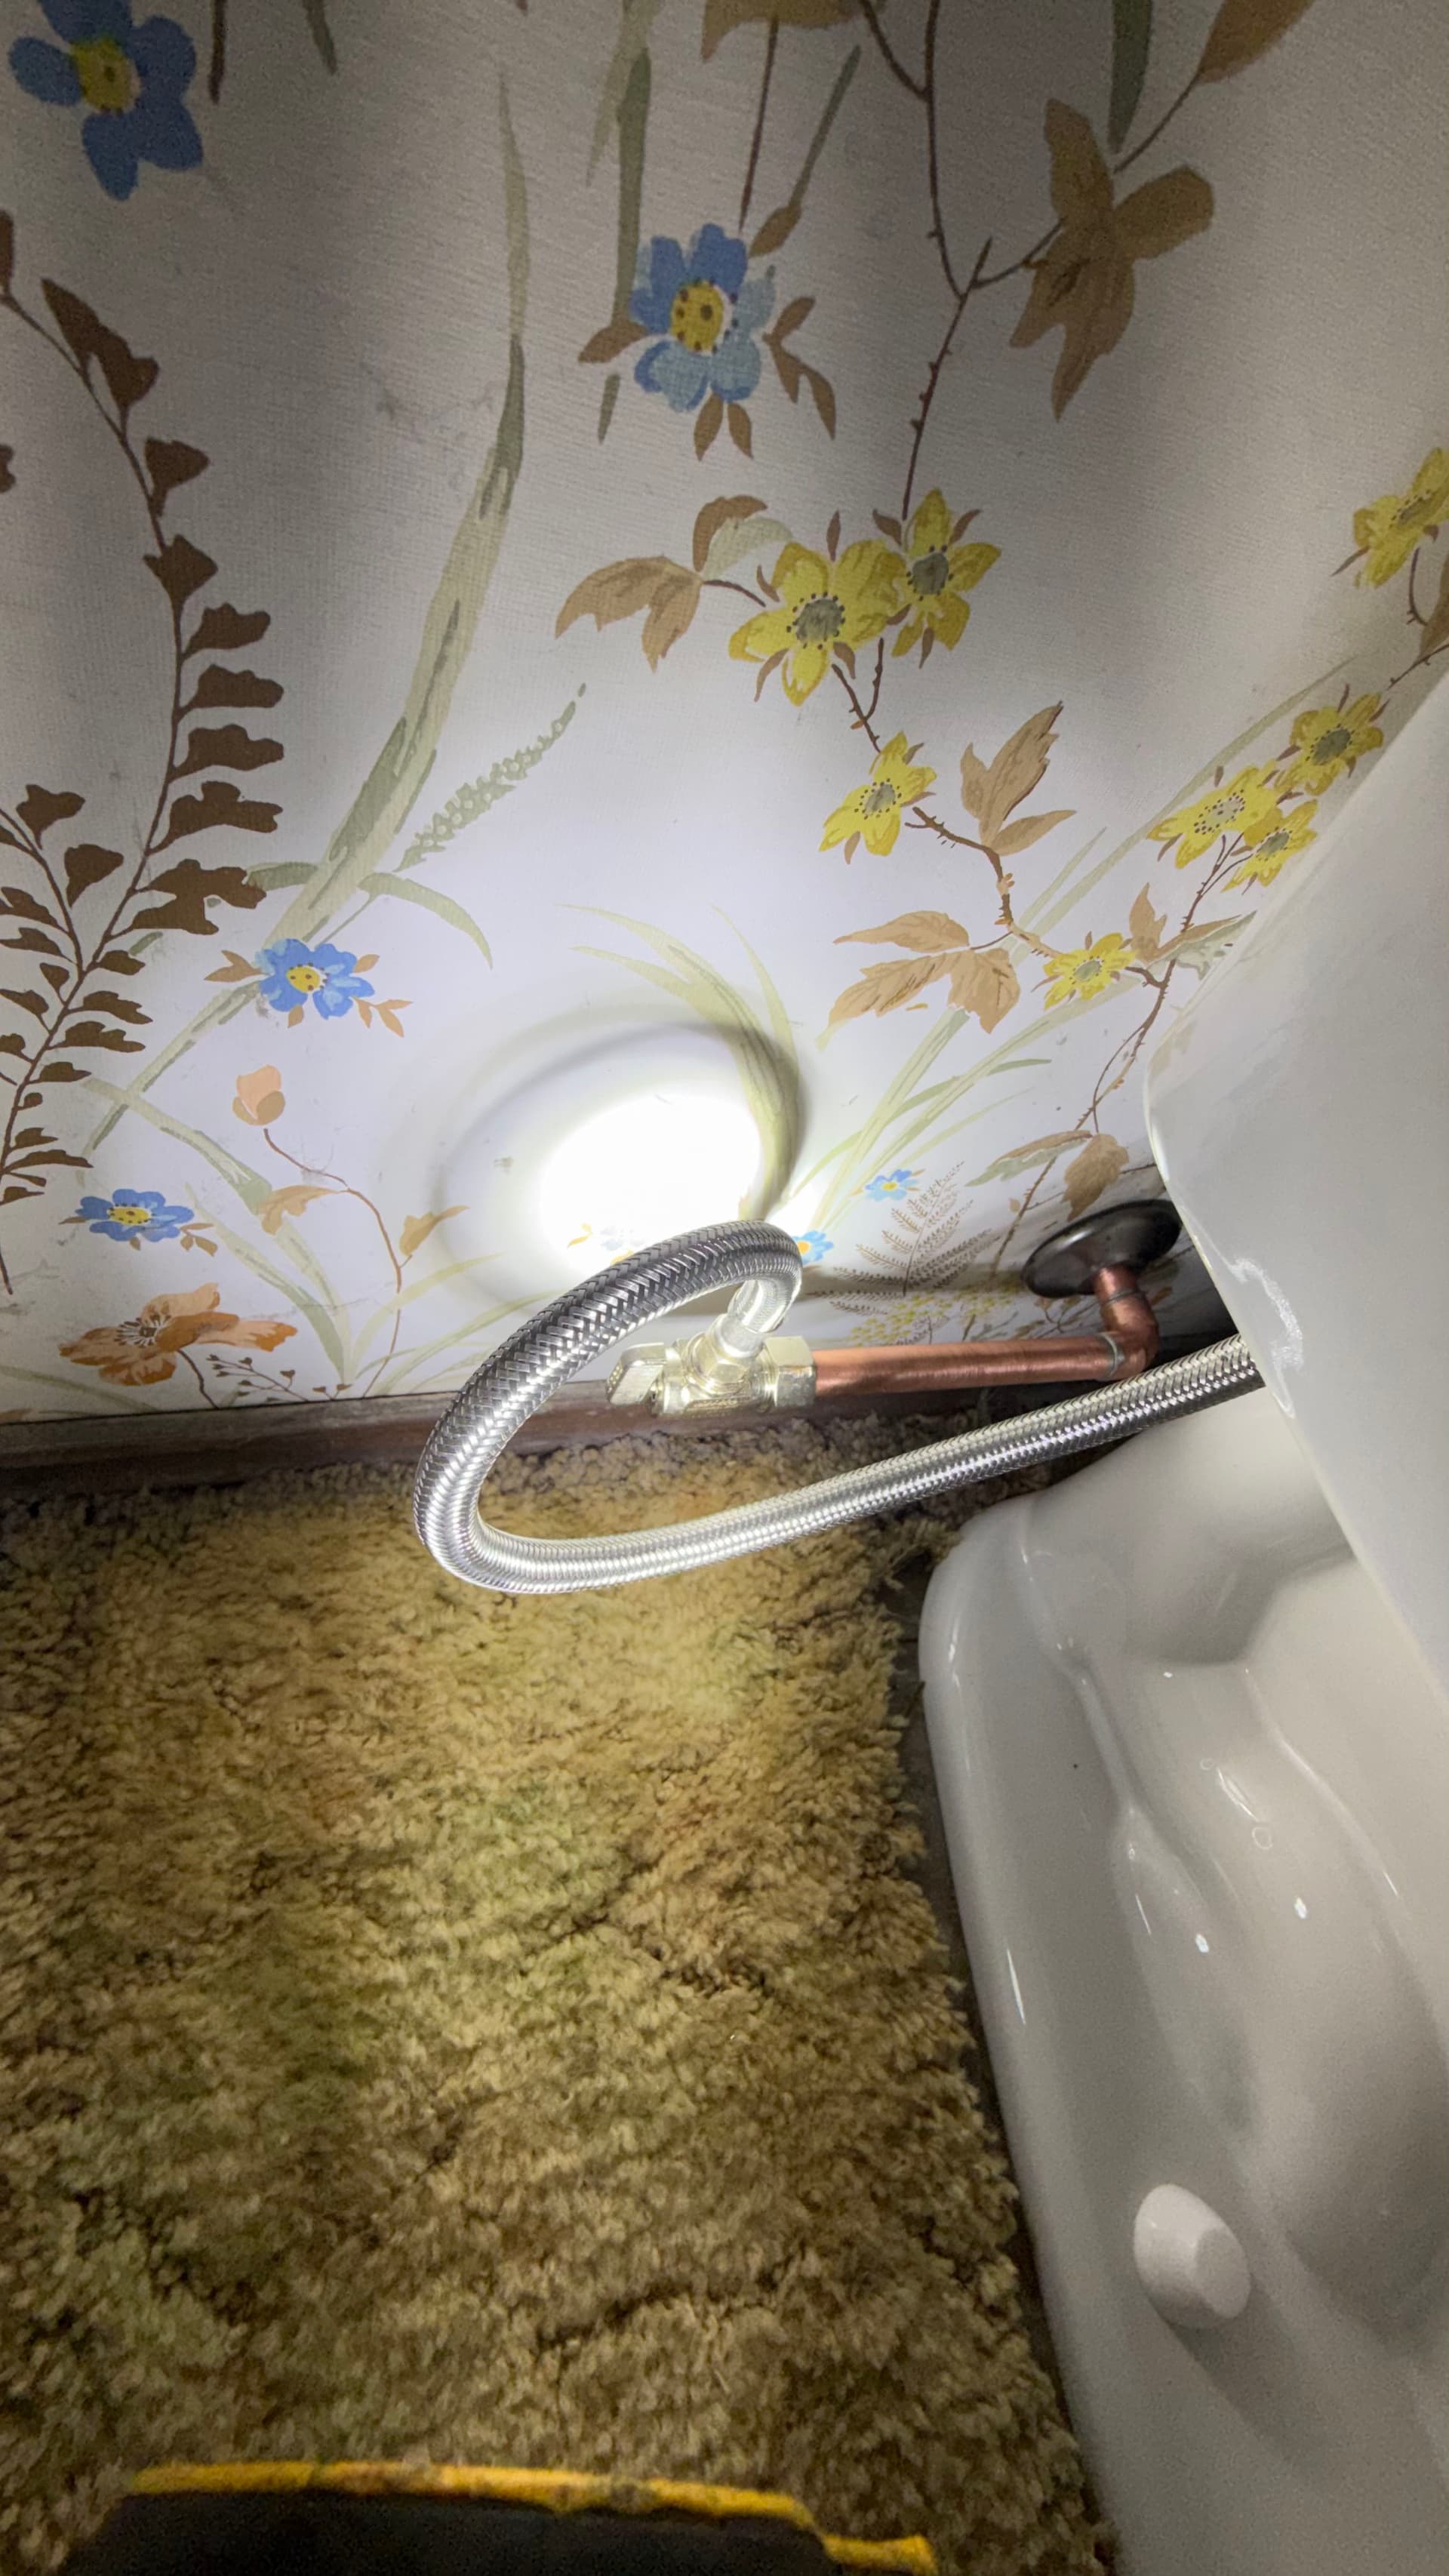
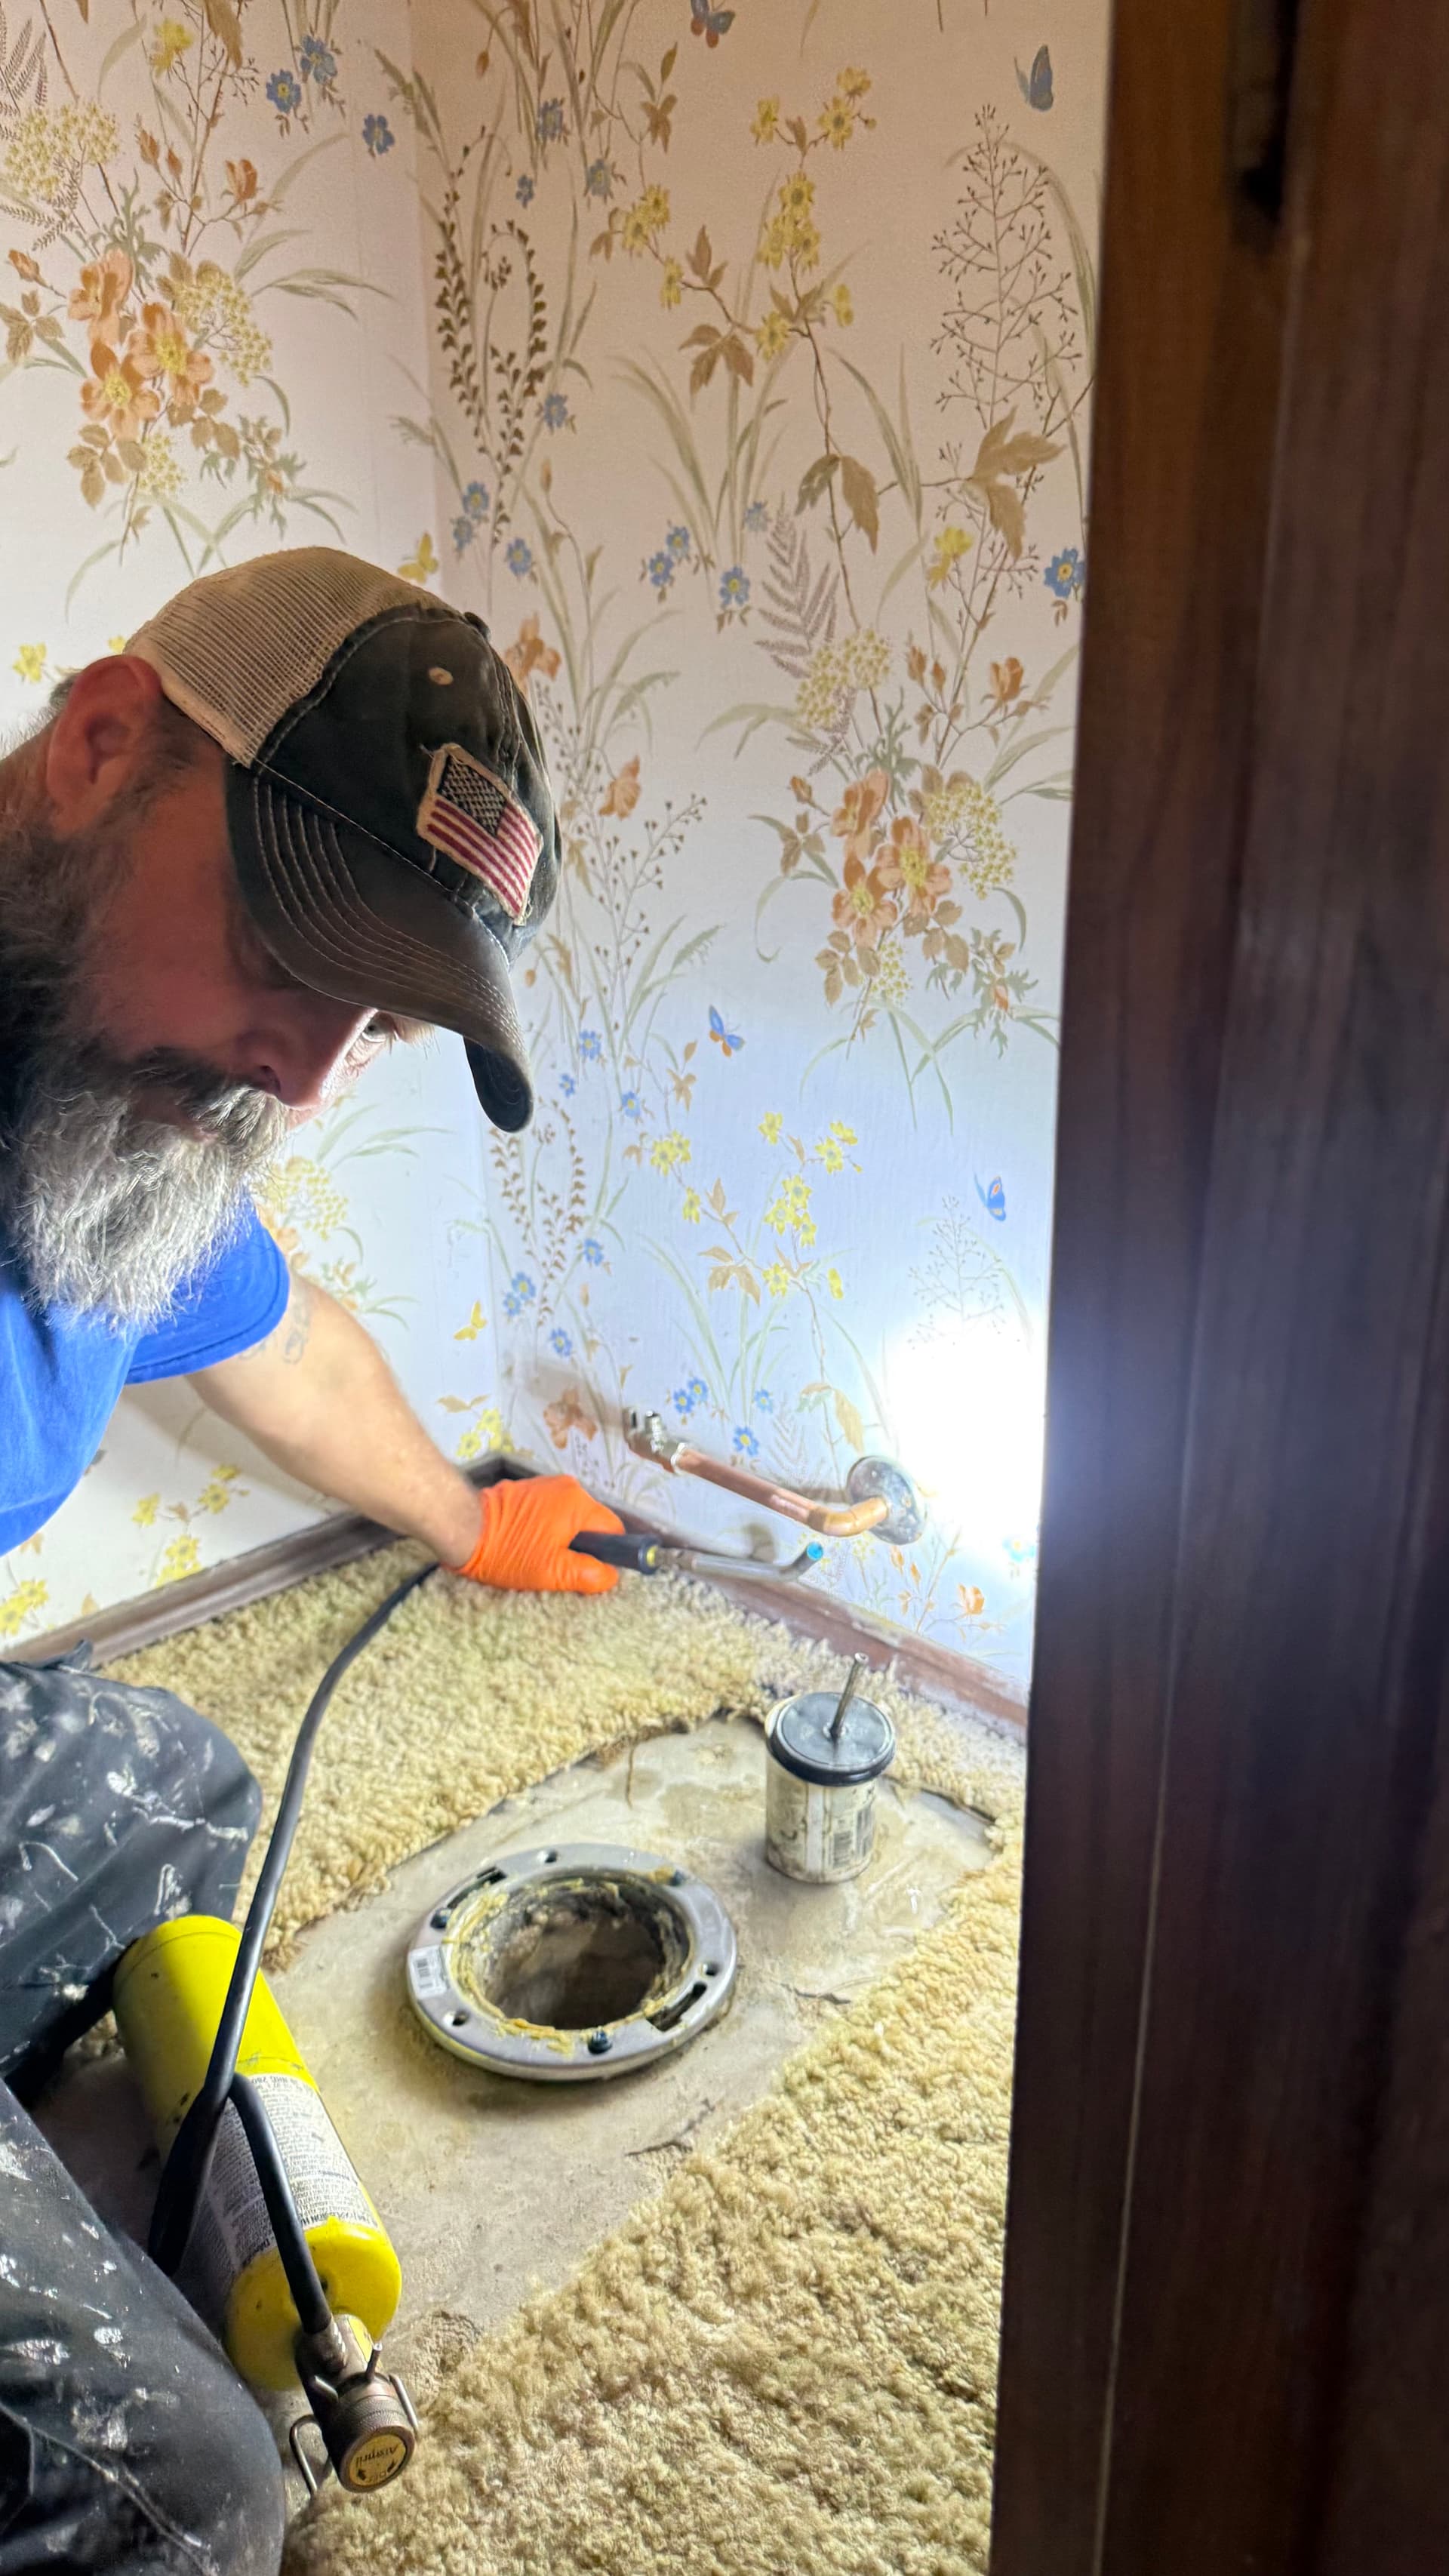
That's exactly what we ran into here. The shut-off valve needed to be moved before the new toilet could fit the way it was supposed to. So we took care of that first - soldering the copper supply line and repositioning the valve to the correct location. It's the kind of detail that's easy to skip, and easy to regret later.
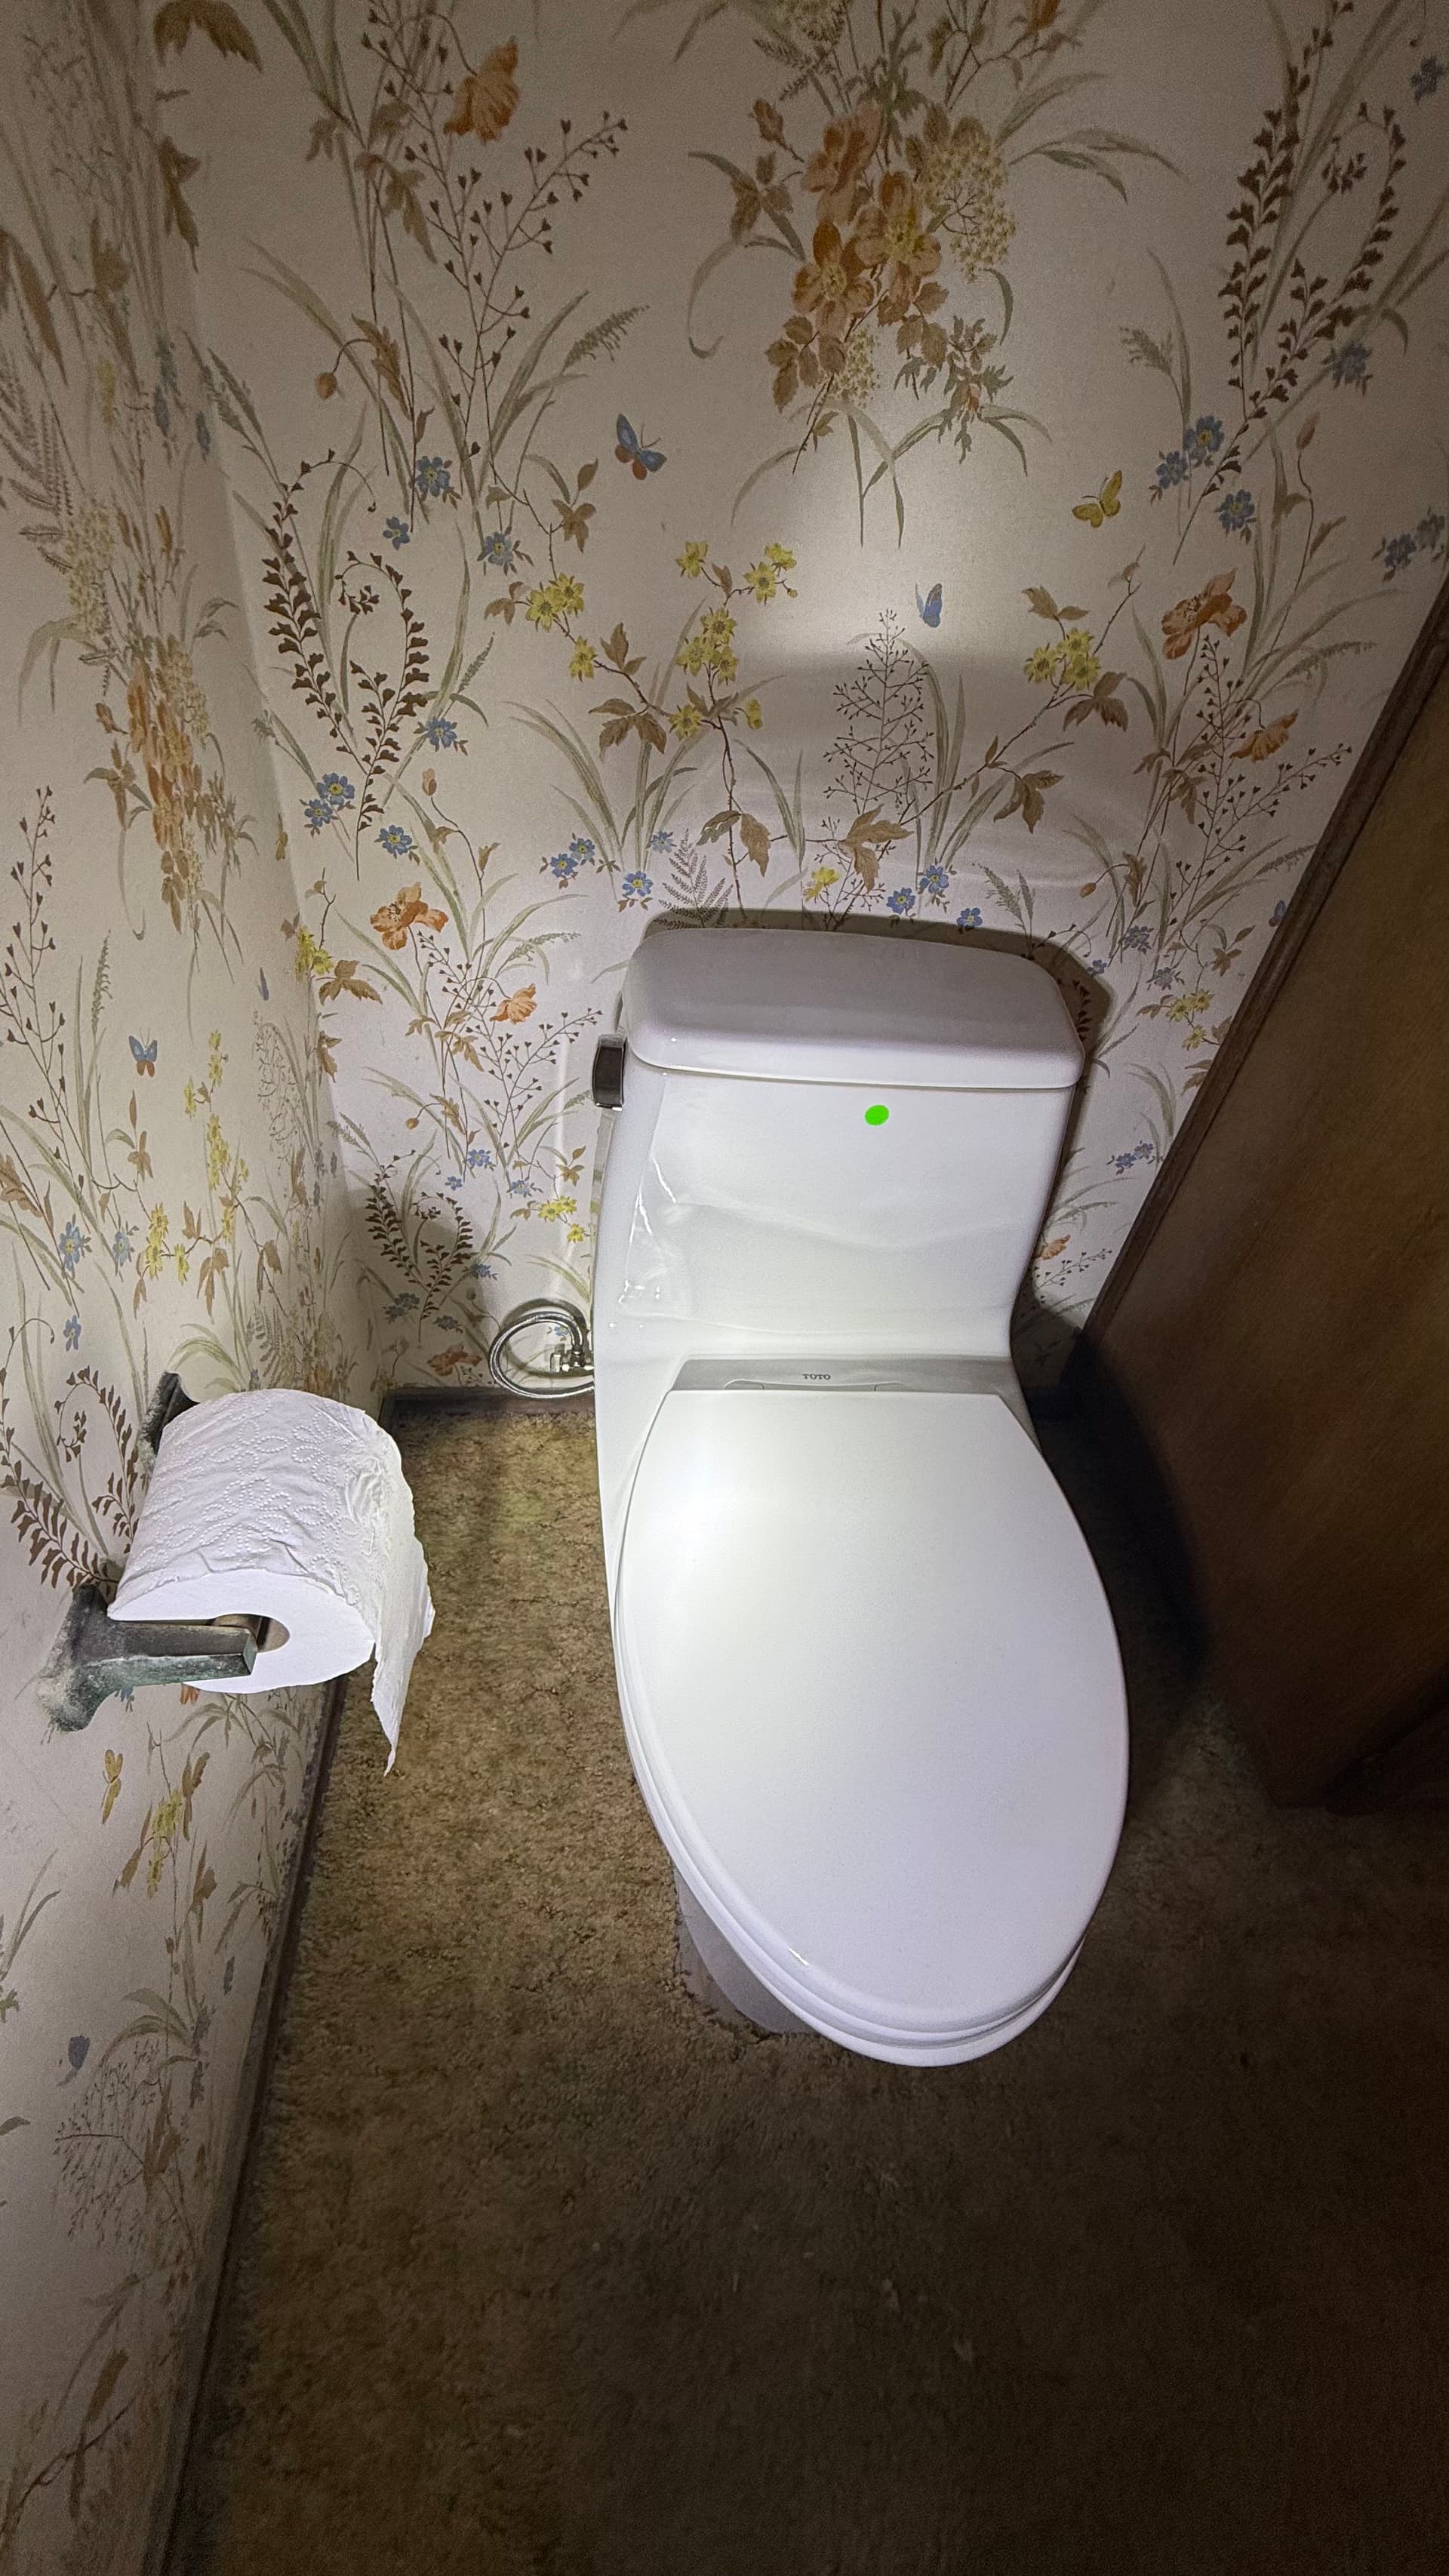
Once that was sorted, the flange got inspected and cleaned up, and we set the new toilet with a proper wax seal and secure connection to the floor. The braided supply line connects cleanly to the repositioned valve, and everything is tight, leak-free, and working exactly as it should.
Here's the thing about toilet installs - what happens at the floor and behind the wall matters just as much as what you see when the job is done. A loose flange connection or a valve in the wrong spot might not cause problems right away, but it will eventually. We'd rather deal with it correctly the first time.
A clean, fully functional install starts with doing the groundwork right. That's what we focus on every time, whether it's a basic toilet swap or one that needs a little more plumbing work to get there.